Plan the cable route before choosing a lighting bridge
Compare a bridge's router connection, body dimensions and cable space before deciding where it will sit.
Updated:
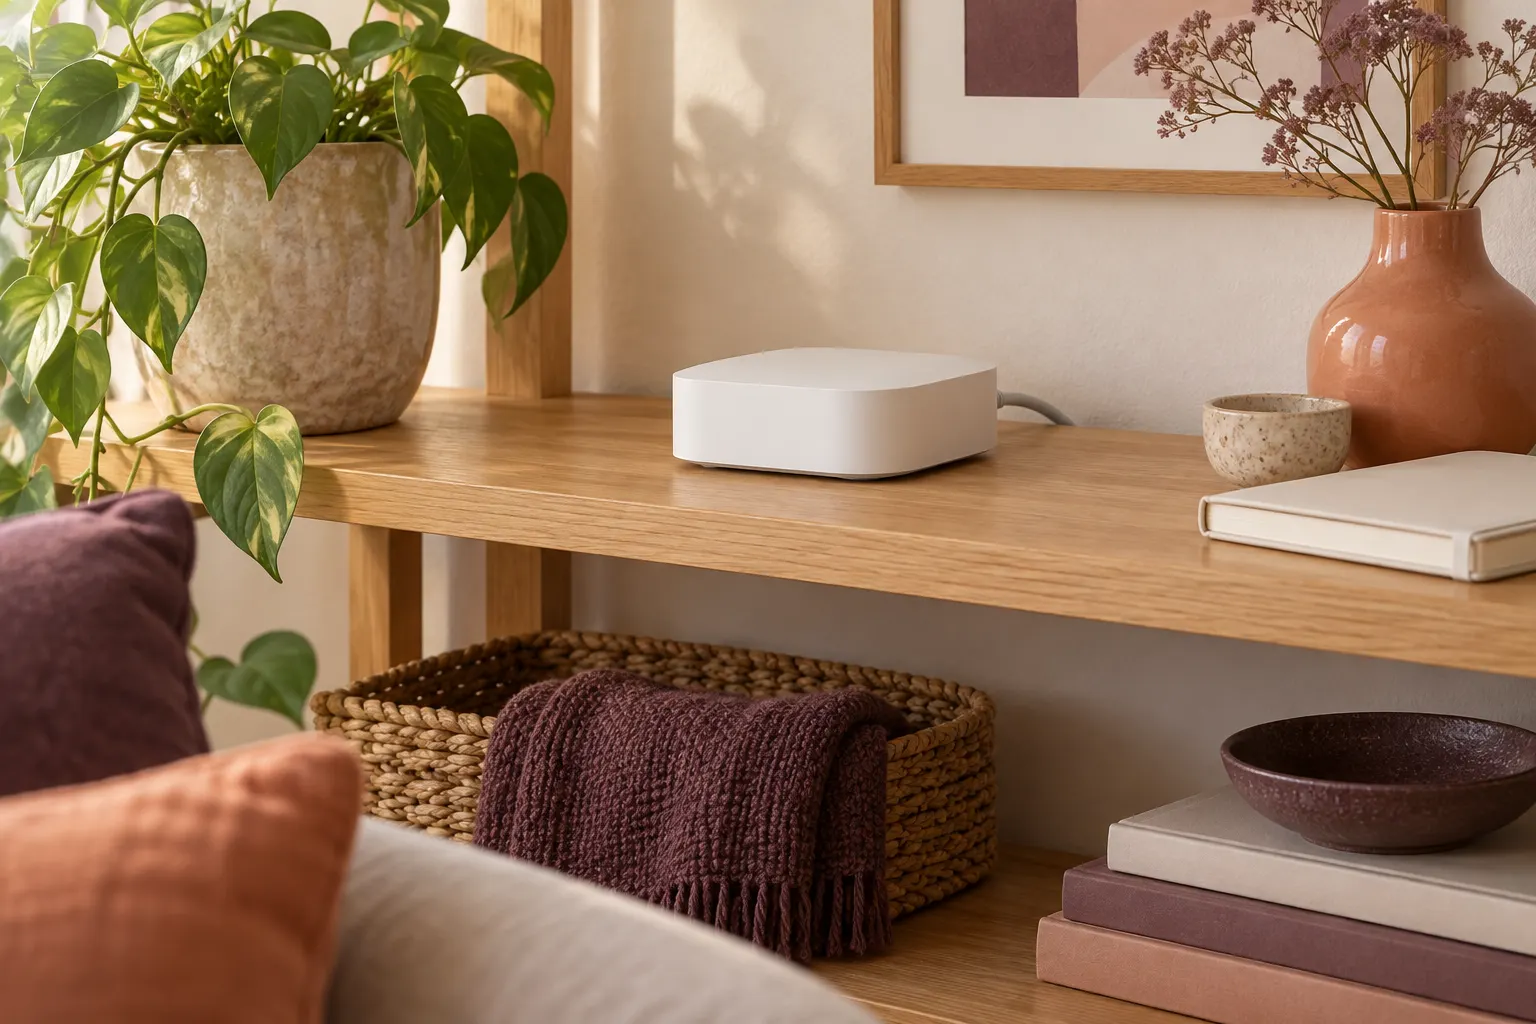
Choose a possible cable route before a shelf
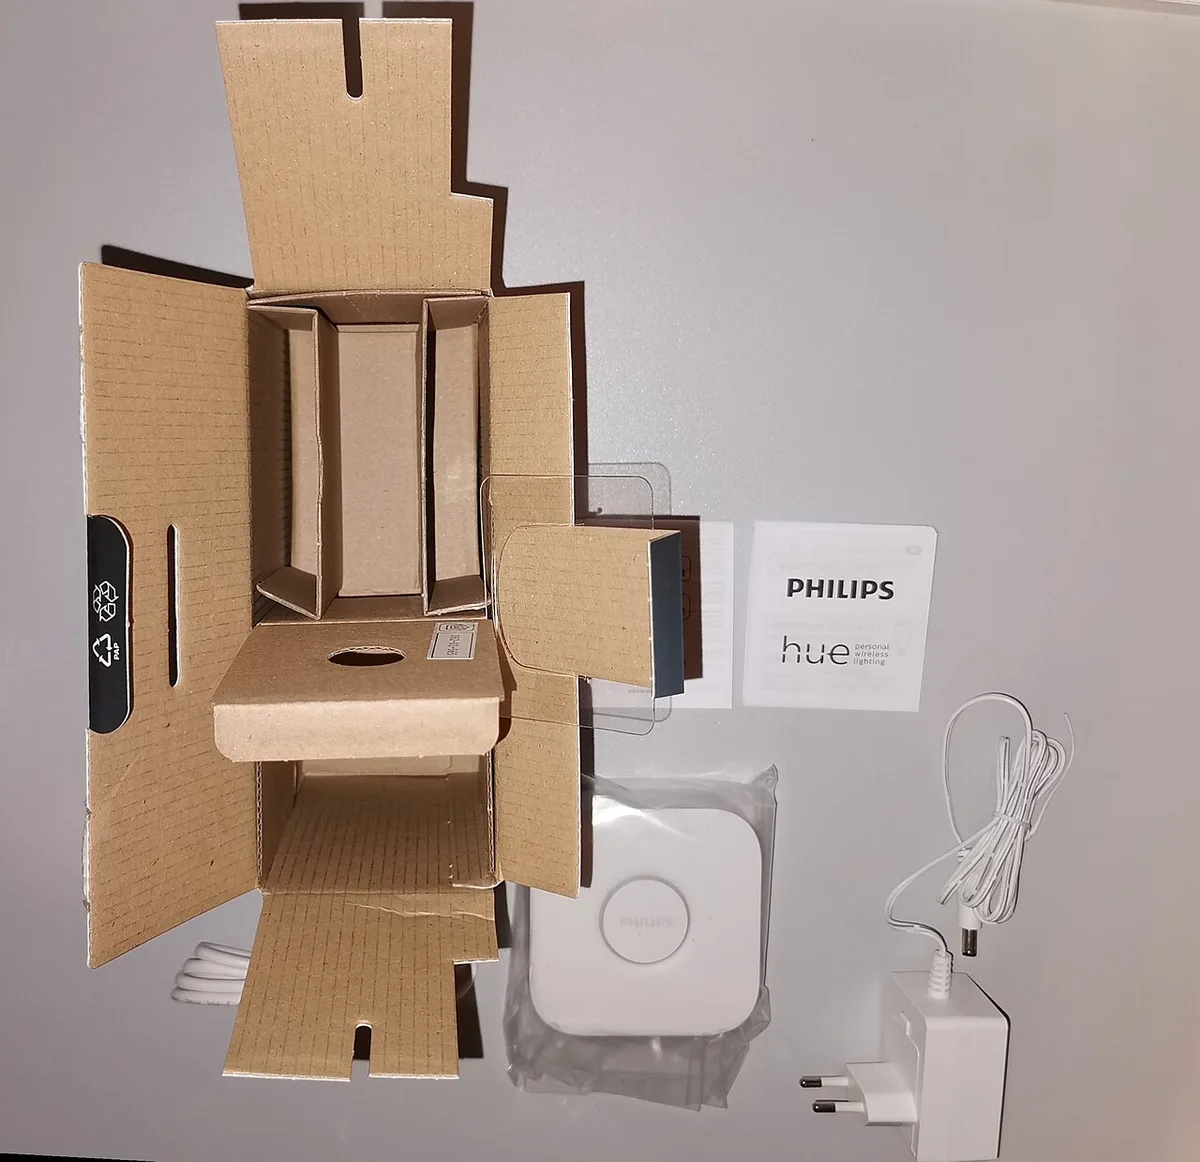
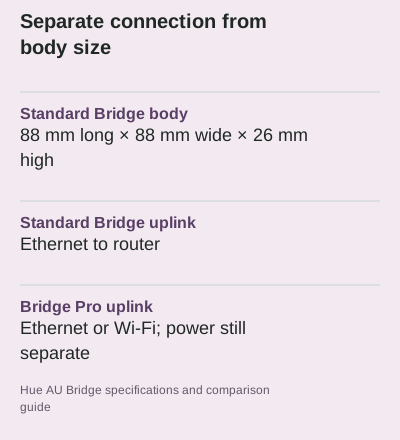
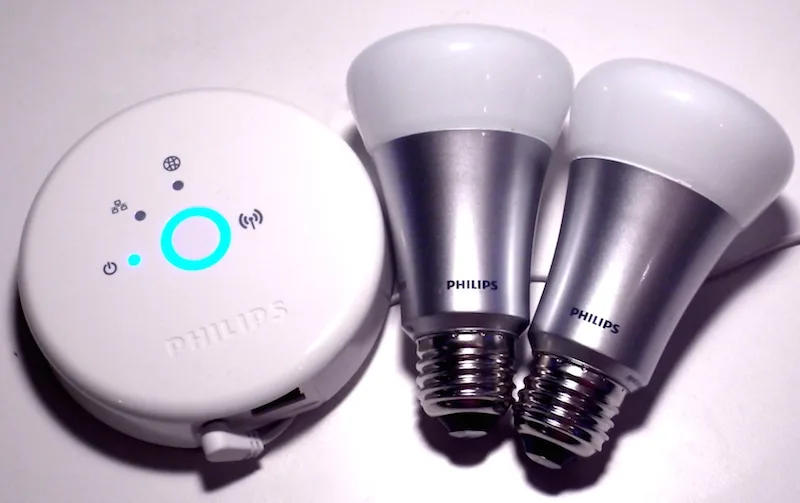
The standard Hue Bridge and Bridge Pro have different router-connection options in Philips' Australian comparison guide. The standard Bridge connects to the router by Ethernet; the Pro can use Ethernet or Wi-Fi. That difference affects where a practical installation can begin. It does not mean a Wi-Fi-capable model needs no power connection, or that the standard Bridge is itself a Wi-Fi access point. Start with the actual model and supported uplink, then consider a suitable location under its instructions. The archive bridge photograph makes the separate cable connections visible without claiming a current installation test.
Hue AU Bridge 8719514342569 ? Hue Bridge versus Bridge Pro AU guide ?
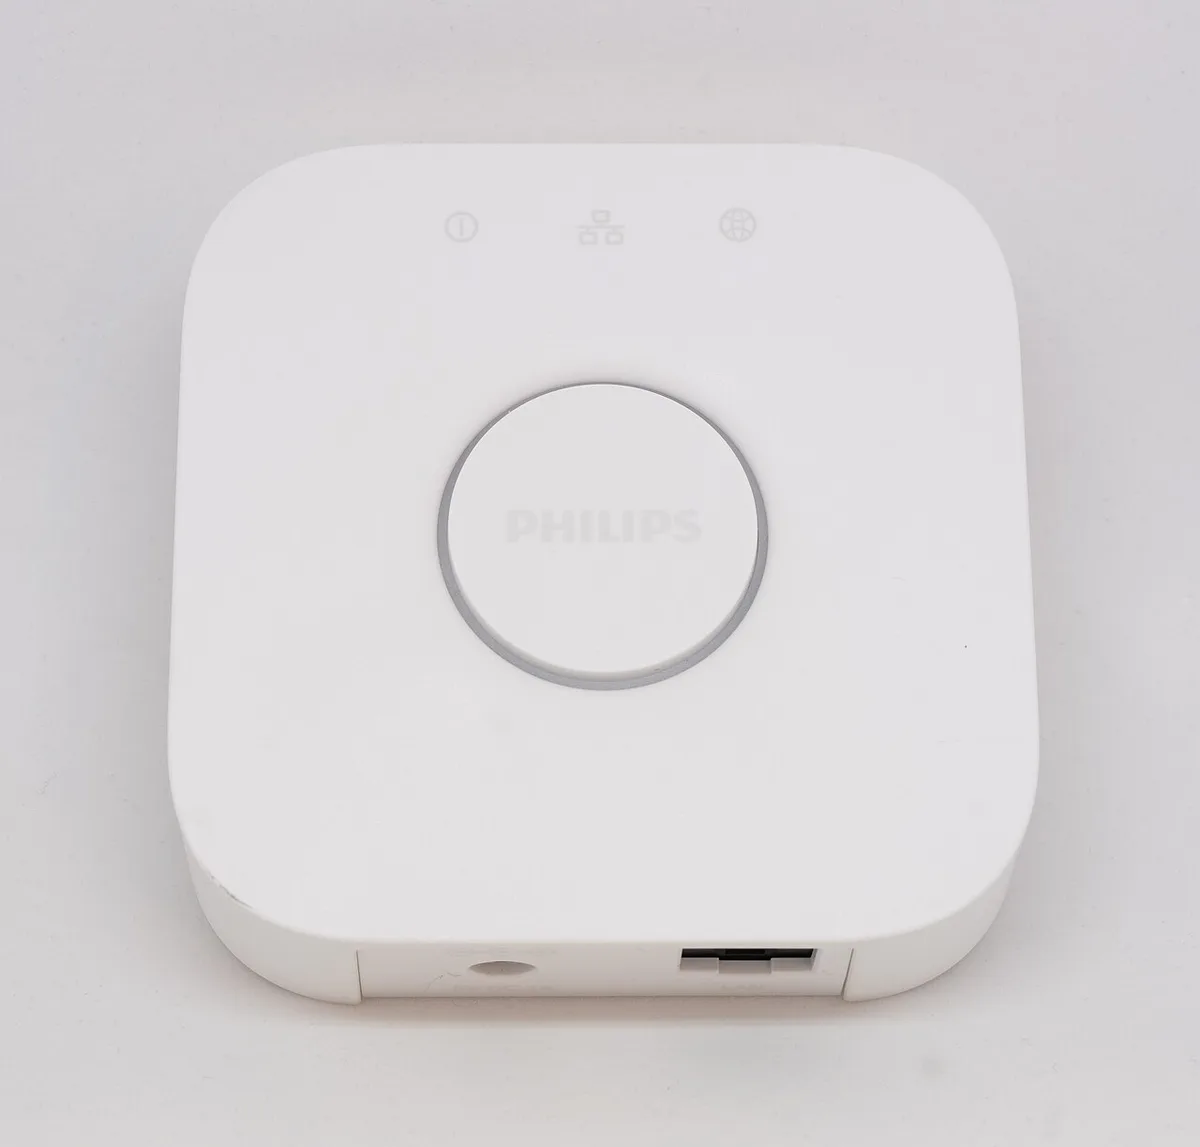
Measure the body as one part of the footprint
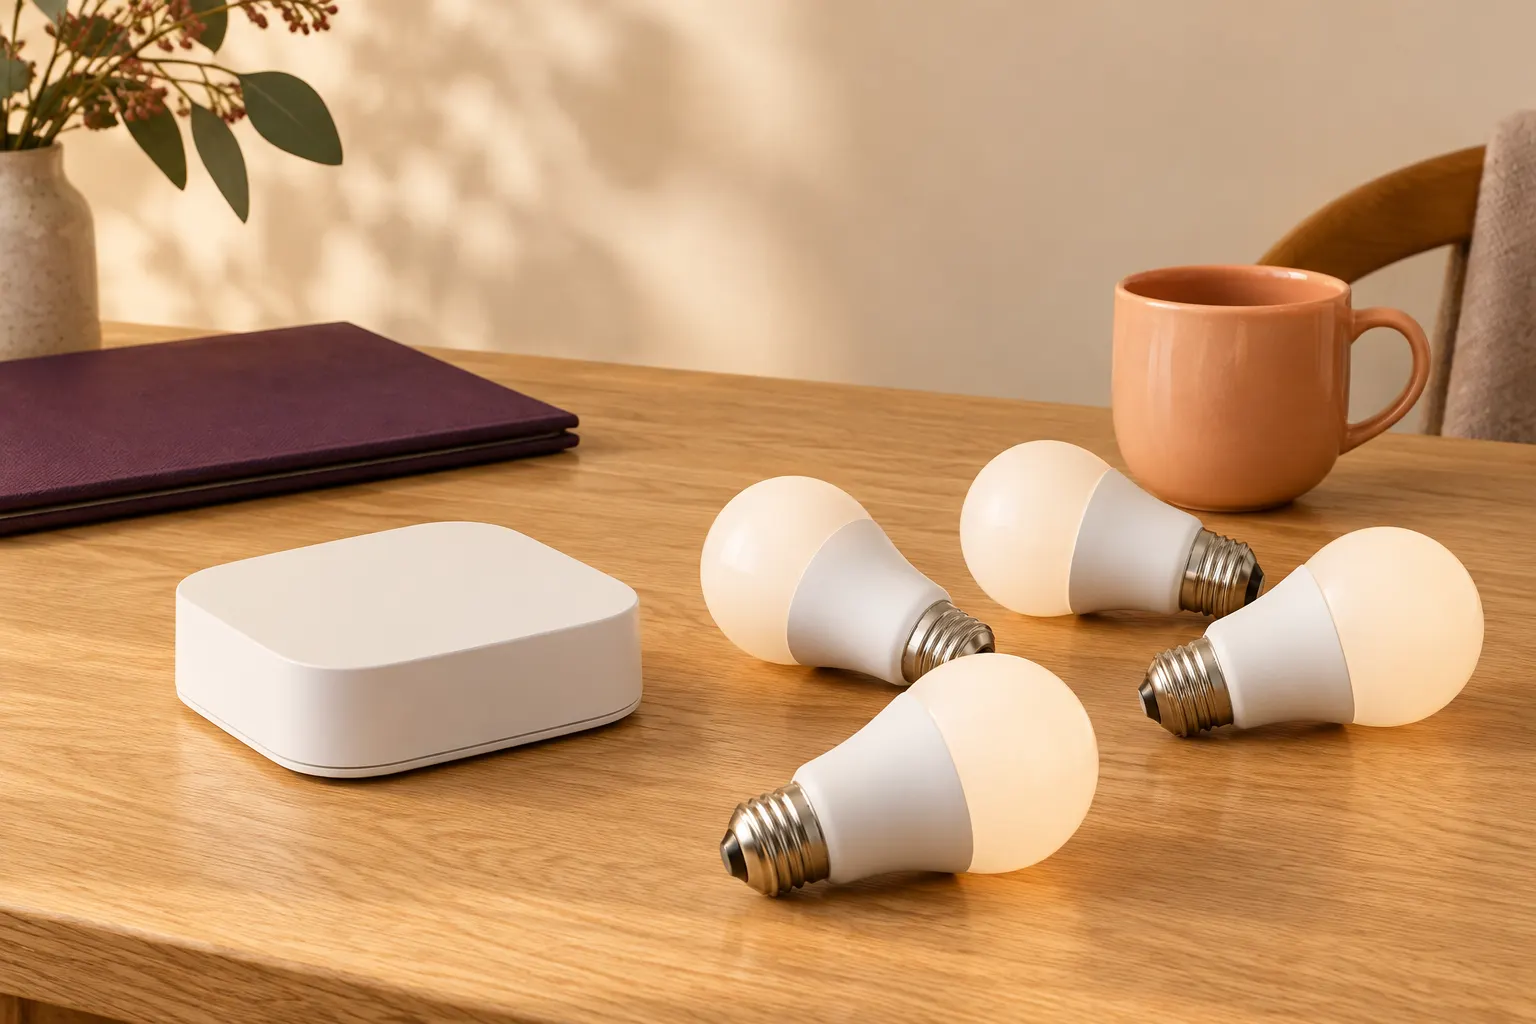
The Australian standard Bridge product page lists a body 88 mm long, 88 mm wide and 26 mm high. Record those dimensions separately from the space needed by its plugs, cables and access. A shelf that accommodates the plastic body may still be unsuitable once connected. Do not use carton dimensions or an old photograph to infer the footprint of another generation. Also avoid assuming that a narrow gap behind furniture is acceptable just because the device can be pushed into it. The manufacturer's environmental and placement instructions remain part of the decision.
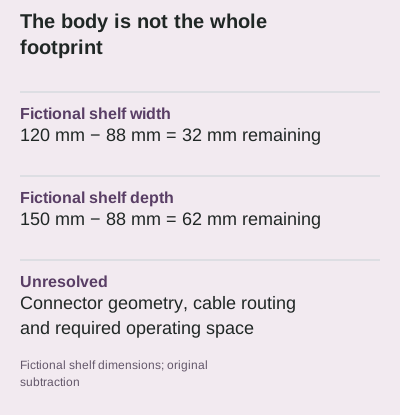
Use a sketch to expose an obvious mismatch
For an illustrative planning sketch, take a shelf area 120 mm wide and 150 mm deep. Subtracting the documented 88 mm body leaves 32 mm across the width and 62 mm in the depth direction. These fictional dimensions demonstrate how to identify remaining space; neither result is an approved cable-bend radius or ventilation clearance. The arrangement and direction of the ports can change which leftover area is useful. Draw the actual connectors and intended route on the sketch instead of assuming every millimetre of the rectangle is available for a cable.
Do not turn a convenient location into a coverage promise
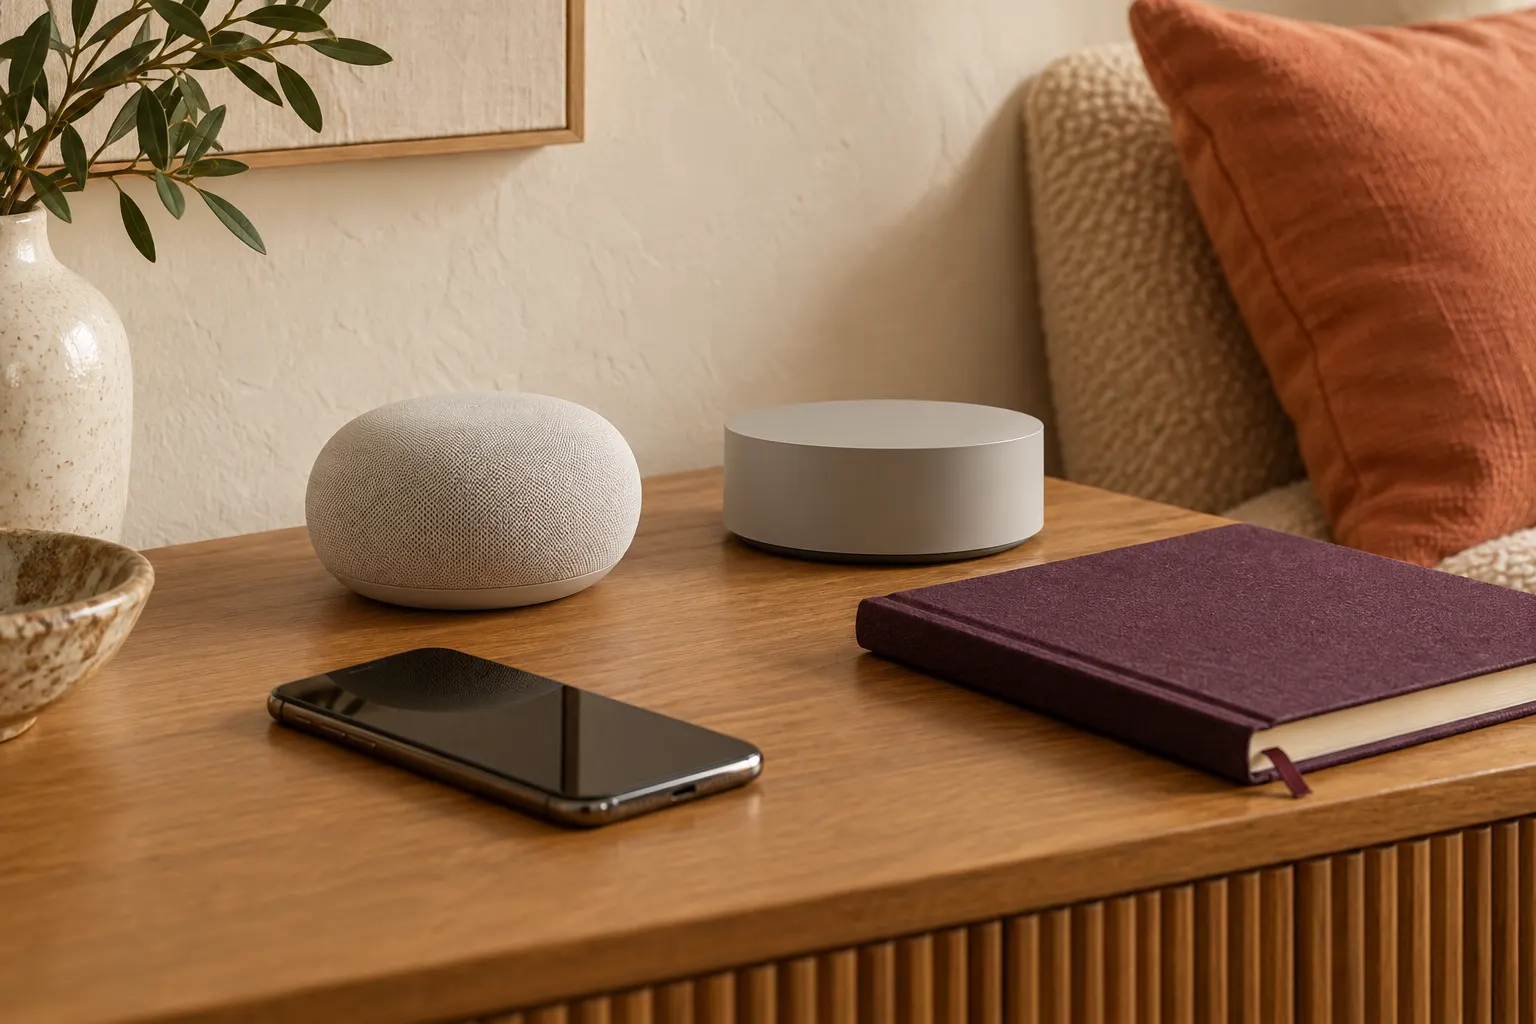
A reachable router port and adequate physical space answer only part of the problem. They do not establish that every light or sensor will communicate reliably from that position. Building layout, actual equipment and the supported network arrangement need separate consideration. The historic round bridge and two bulbs illustrate distinct components rather than a current recommended network. Keep model-generation questions separate from placement questions. If a planned location works physically but its connectivity has not been established, record that uncertainty plainly instead of describing the whole house as covered.
Check the delivered package before finalising the plan
The archive unpacking photograph shows a bridge, instructions and a European two-pin adapter. It is useful evidence that a package consists of several separate items, but it is not the Australian box contents for your order. Record the actual regional model, included adapter and cables, required router port and any separately sourced accessories. Compare seller-confirmed contents with the manufacturer's instructions before purchasing. A complete placement plan therefore has a documented body size, a supported connection route and unresolved items clearly marked. It is a buying aid, not a substitute for the equipment's installation directions.
Open official model documentation ? Open official model documentation ?