Measure a portable button plate before choosing its location
Compare the round control and its separate plate before selecting a removable smart-light button location.
Updated:
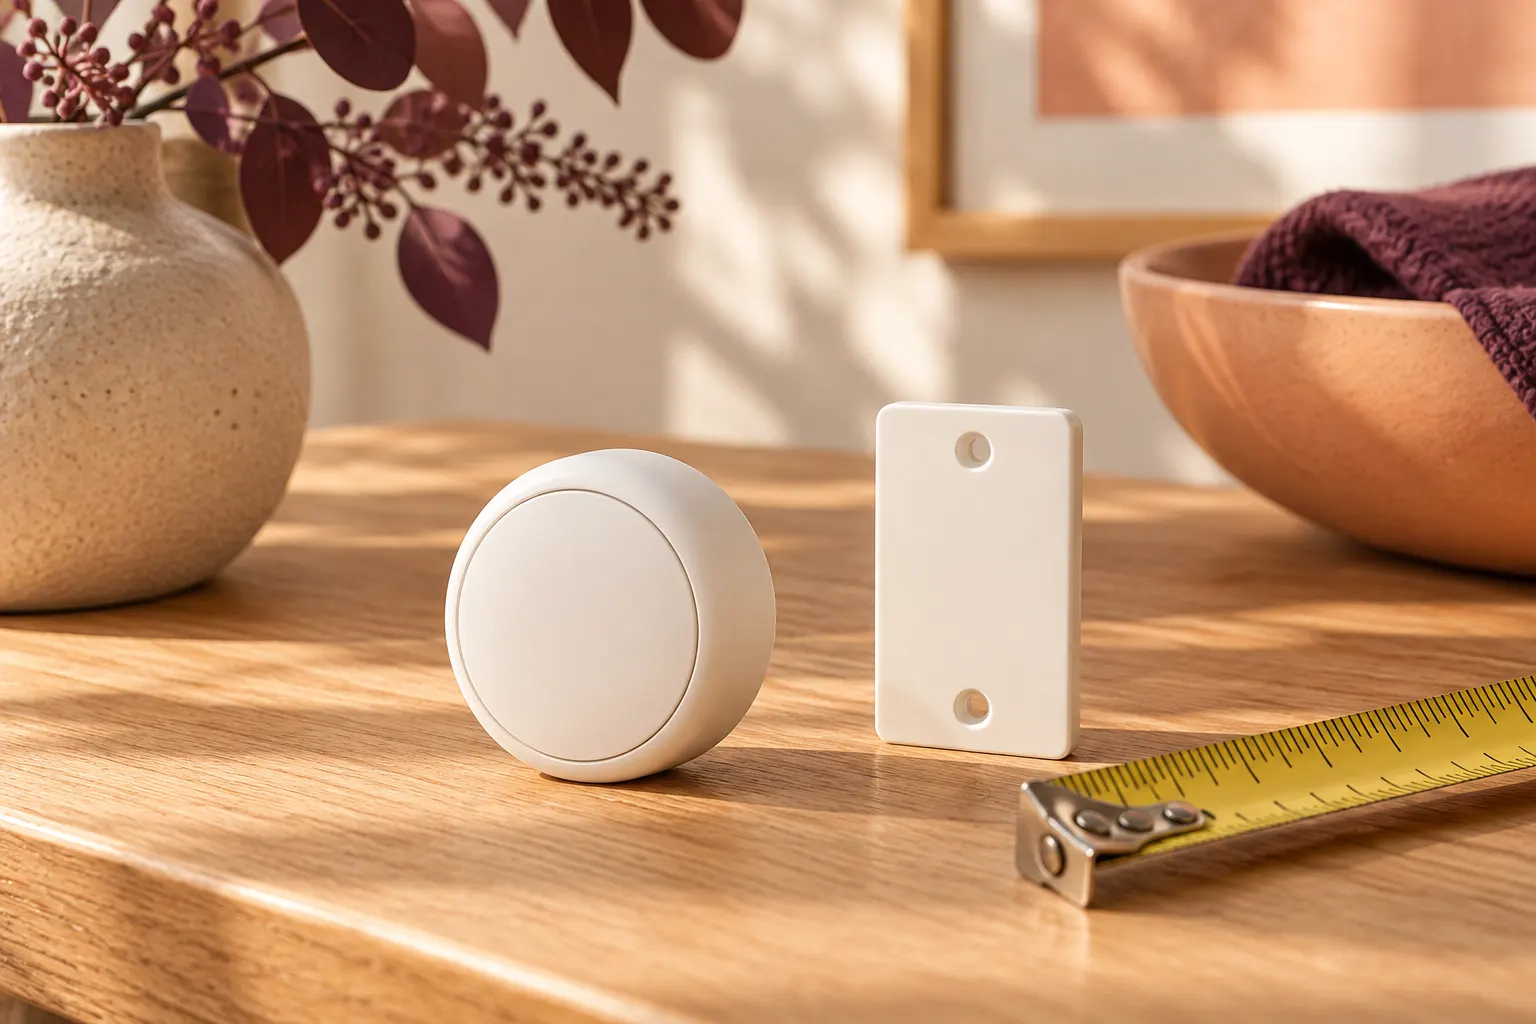
A portable button has two footprints
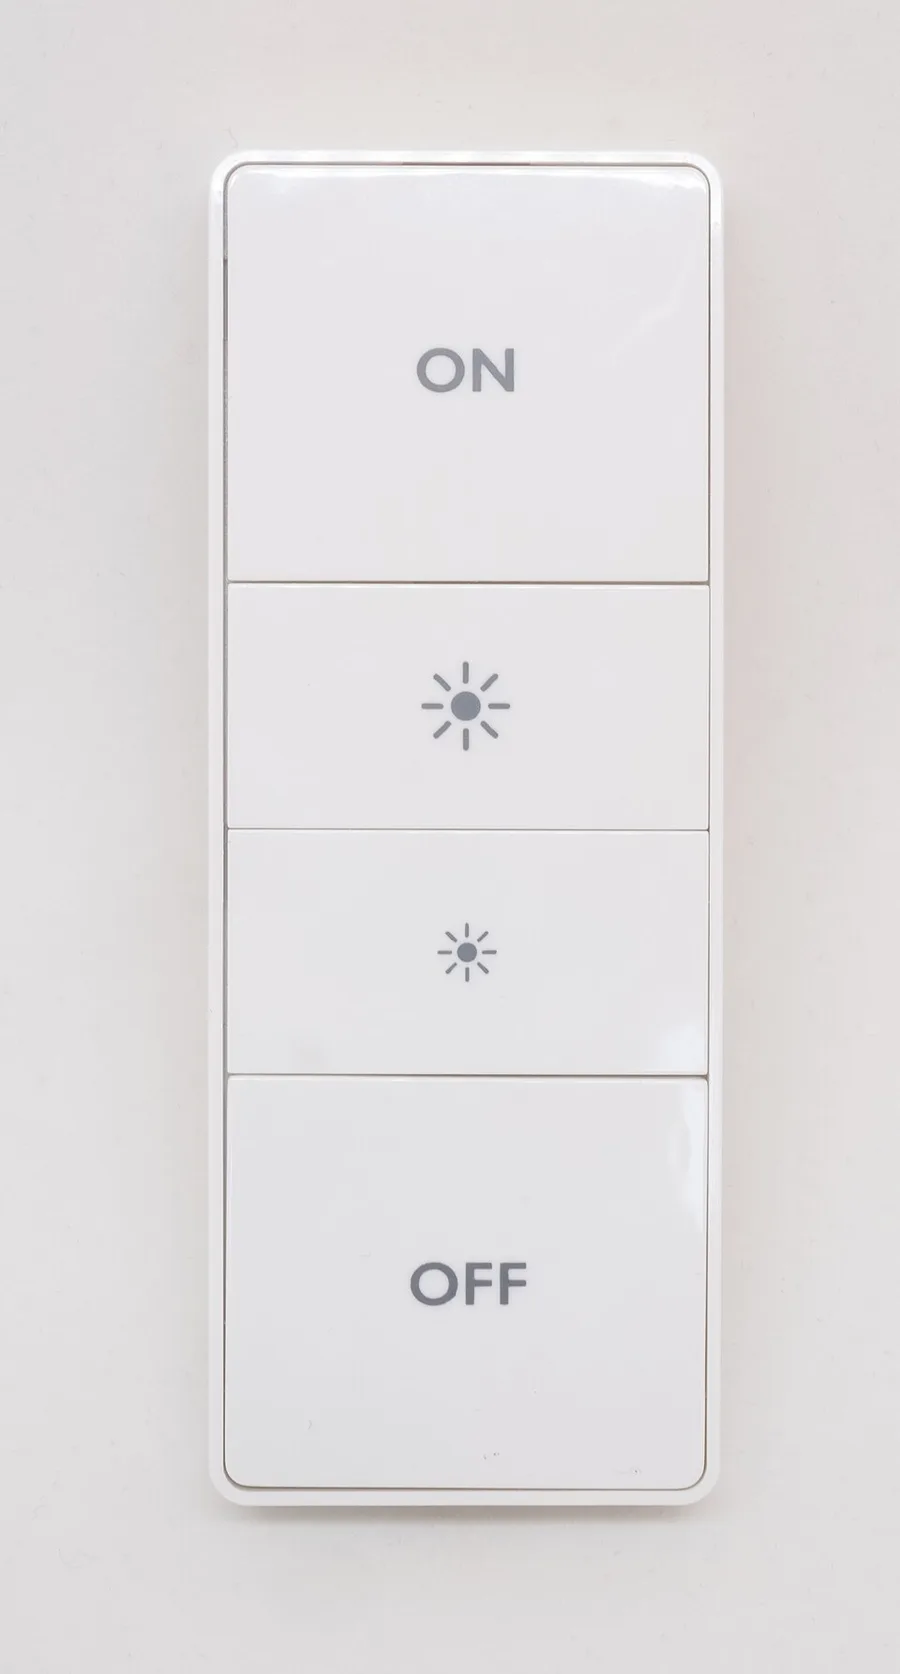
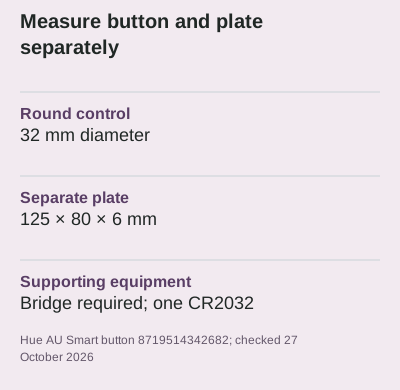
The documented Hue Smart button 8719514342682 has a 32 mm diameter control and a separate 125 mm by 80 mm by 6 mm wall plate. Record both before deciding where it belongs. The plate can occupy substantially more space than the round control suggests. These are measurements from archived Australian model documentation, not a claim that this discontinued item is currently available. The photograph shows an older rectangular Hue dimmer rather than this round button. It helps distinguish a removable battery control from the plate and from a mains-wired switch.
Hue AU Smart button 8719514342682 documentation ?
Draw the available surface at its actual size
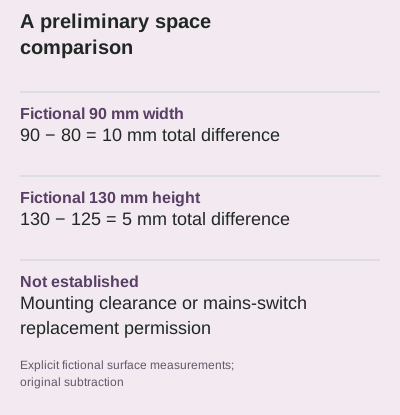
Put the proposed position on a sketch with the nearby trim, furniture and existing controls. Compare the plate width and height separately; a surface that accommodates the round button may not accommodate its plate. For an explicitly fictional space 90 mm wide and 130 mm high, subtraction leaves 10 mm total width difference and 5 mm total height difference. Those differences are not approved mounting clearances. They merely show that the documented 80 mm width and 125 mm height are smaller than those assumed dimensions. Surface suitability still depends on the product instructions.
Keep mounting separate from electrical replacement
A wireless control does not need to occupy the position of an existing mains switch to be useful. Do not remove a wall switch or modify wiring on the basis of this planning guide. Work involving fixed electrical equipment needs the appropriate qualified route and local requirements. Instead, ask which permitted mounting method the exact button uses and whether the surface and removal conditions suit your home. The archived dimmer photograph shows a handheld interface; it cannot establish the mounting permissions for another model or turn a battery accessory into an electrical installation component.
Add the bridge and battery to the purchase record
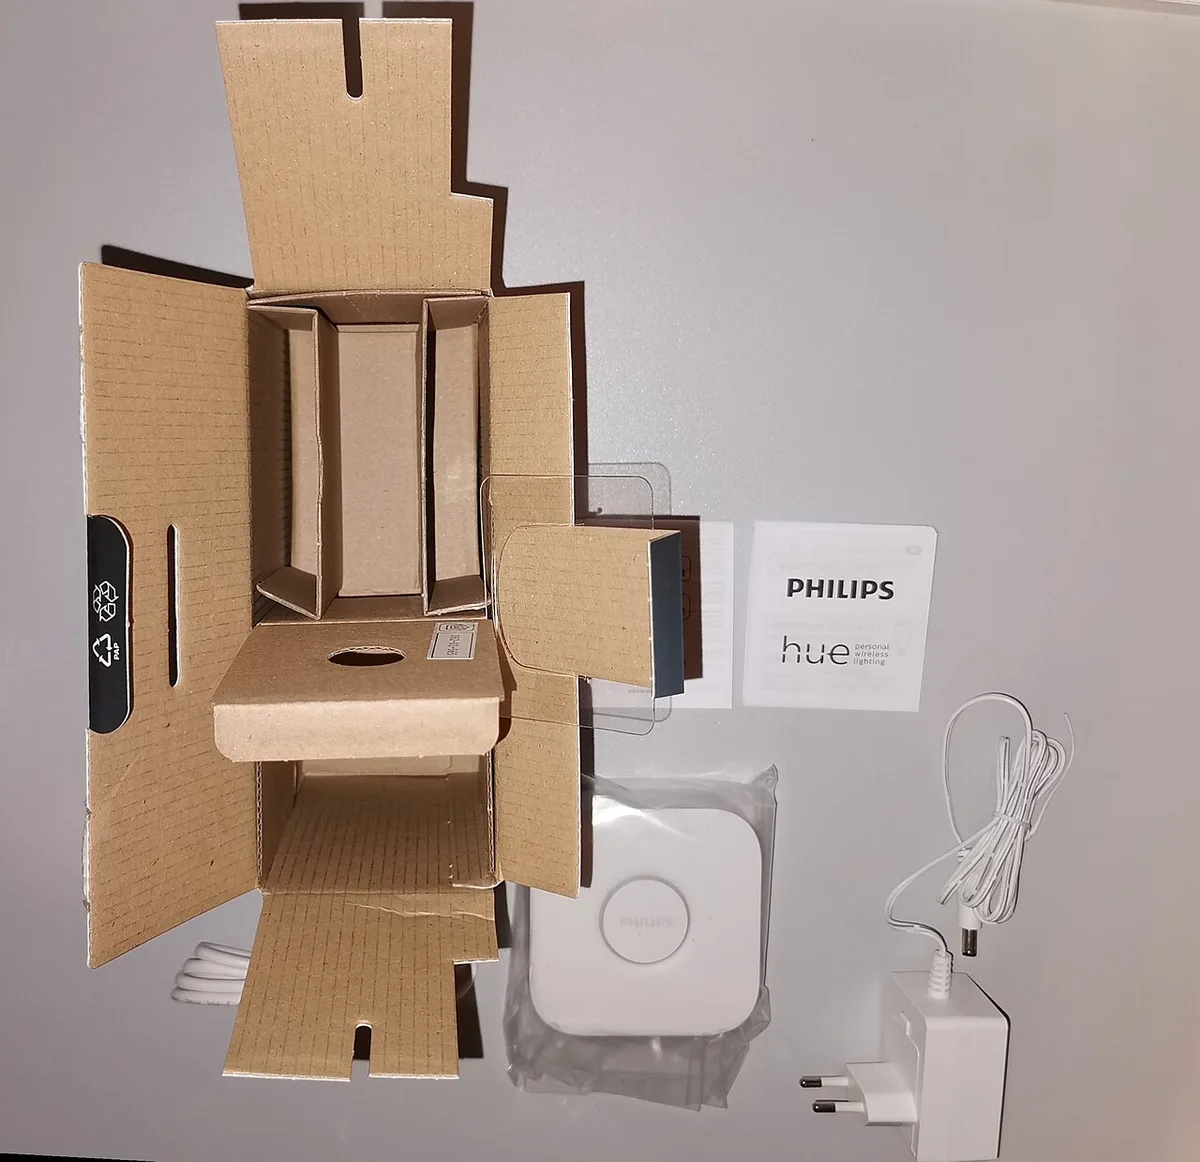
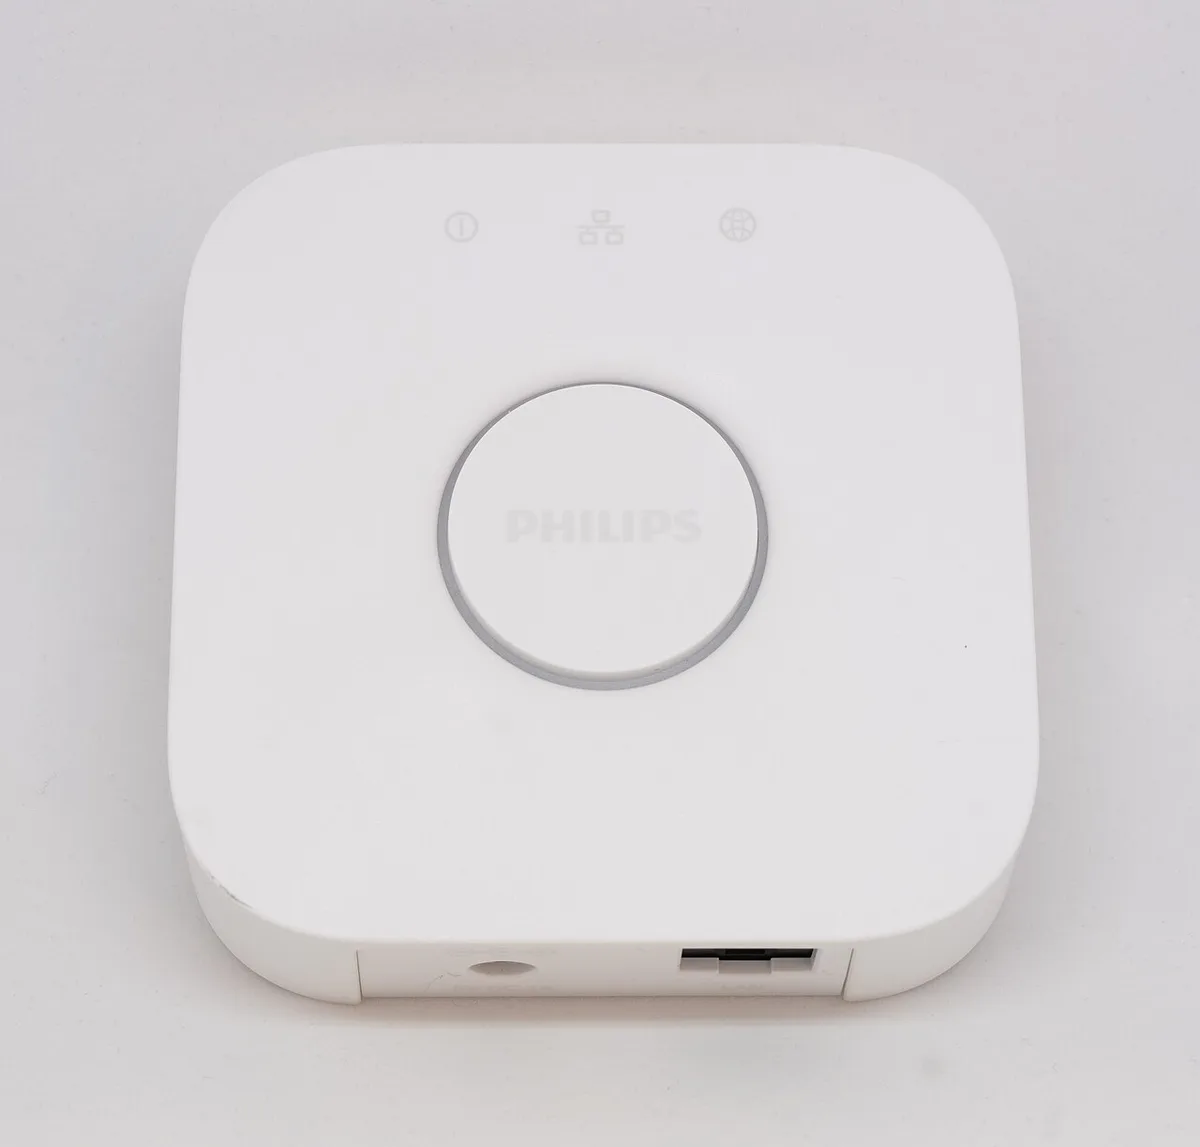
The Australian overview for the named Smart button says a Bridge is required and lists one CR2032 battery. Keep the Bridge requirement beside the button rather than assuming a visible button alone forms a working lighting system. The archived Bridge photograph makes that separate component visible, while the unpacking image illustrates why instructions and supplied accessories deserve their own checklist. Its European adapter is not an Australian package recommendation. Confirm the exact regional package and compatible lighting before considering a quotation complete; a small control footprint does not prove that every lamp can be operated.
Choose a location for an understandable action
Write down what a person expects pressing the control to do, who uses it and which lighting group is involved. A convenient physical position and a clear action are different questions, and both need resolving. Keep the model instructions, mounting choice and desired action together so later changes remain understandable. If the plate conflicts with a narrow trim, choose another documented arrangement rather than treating the round button diameter as the whole answer. Retain the archived support wording separately from availability, warranty and compatibility: none of those are established by a photograph or dimensional subtraction.
Open official model documentation ?